August 27, 2010
It's been while!
I realized this afternoon that I have not checked in here in a few weeks. Life has been really crazy around here! One of the last things that we have going for the summer is a vary large yard sale. Today was day one and we did very well. We still have one more day to go and then it is over!! I think I have definitely learned my lesson about collecting stuff. NO MORE STUFF! I never want to have to do another yard sale ever again! Once is enough. Once Wednesday gets here it is time for some major down time, taking a break from all of the crazy running around, and doing this, and going there and lets do this too. Thank the good Lord for the person who invented school! All right, have to get the last of this stuff priced and ready to go. See ya next time!
August 7, 2010
IT"S HERE !!!
IT"S HERE IT"S HERE IT"S HERE!!!!!

I'm so excited!! My Pazzles Machine is here!!


One whole hour later and i've already cut something!!

Now comes the sad part.... it's 11:45 pm and I have to work in the morning :(
O.K. off to bed with me!
August 1, 2010
Custom Envelopes
This month we are doing custom envelopes and even decent tasting envelope glue!
For the envelope
Patterned tissue paper
Freezer paper (near the wax paper in the grocery store)
Iron
Envelope template
(works for any size, as long as the freezer paper is wide enough)
Step 1
Place the BACK side of the tissue paper to the SHINY side of the freezer paper.
Step 2
Carefully iron them together. I only had my iron set at the highest non-steam setting. Careful not to leave the iron in one place to long or it will burn the paper.
The tissue paper fuses to the freezer paper and makes them sturdy enough to use as envelopes.
Step 3
Using your envelope template, trace it onto the envelope paper you just made, cut it out and assemble it.


For the glue
Step 2
Pour in the boiling water and mix until dissolved. Add in the corn syrup/sugar and extract, mix well. If you would like a slightly stronger flavor, you can use about another 1/4 teaspoon or so of extract.
Step 3
 Brush a thin coat on the flap of the envelope and allow to dry completely. Once the glue is dry you, lick it just like you would a regular envelope, just without the yucky face!
This month we are doing custom envelopes and even decent tasting envelope glue!
For the envelope
Patterned tissue paper
Freezer paper (near the wax paper in the grocery store)
Iron
Envelope template
(works for any size, as long as the freezer paper is wide enough)
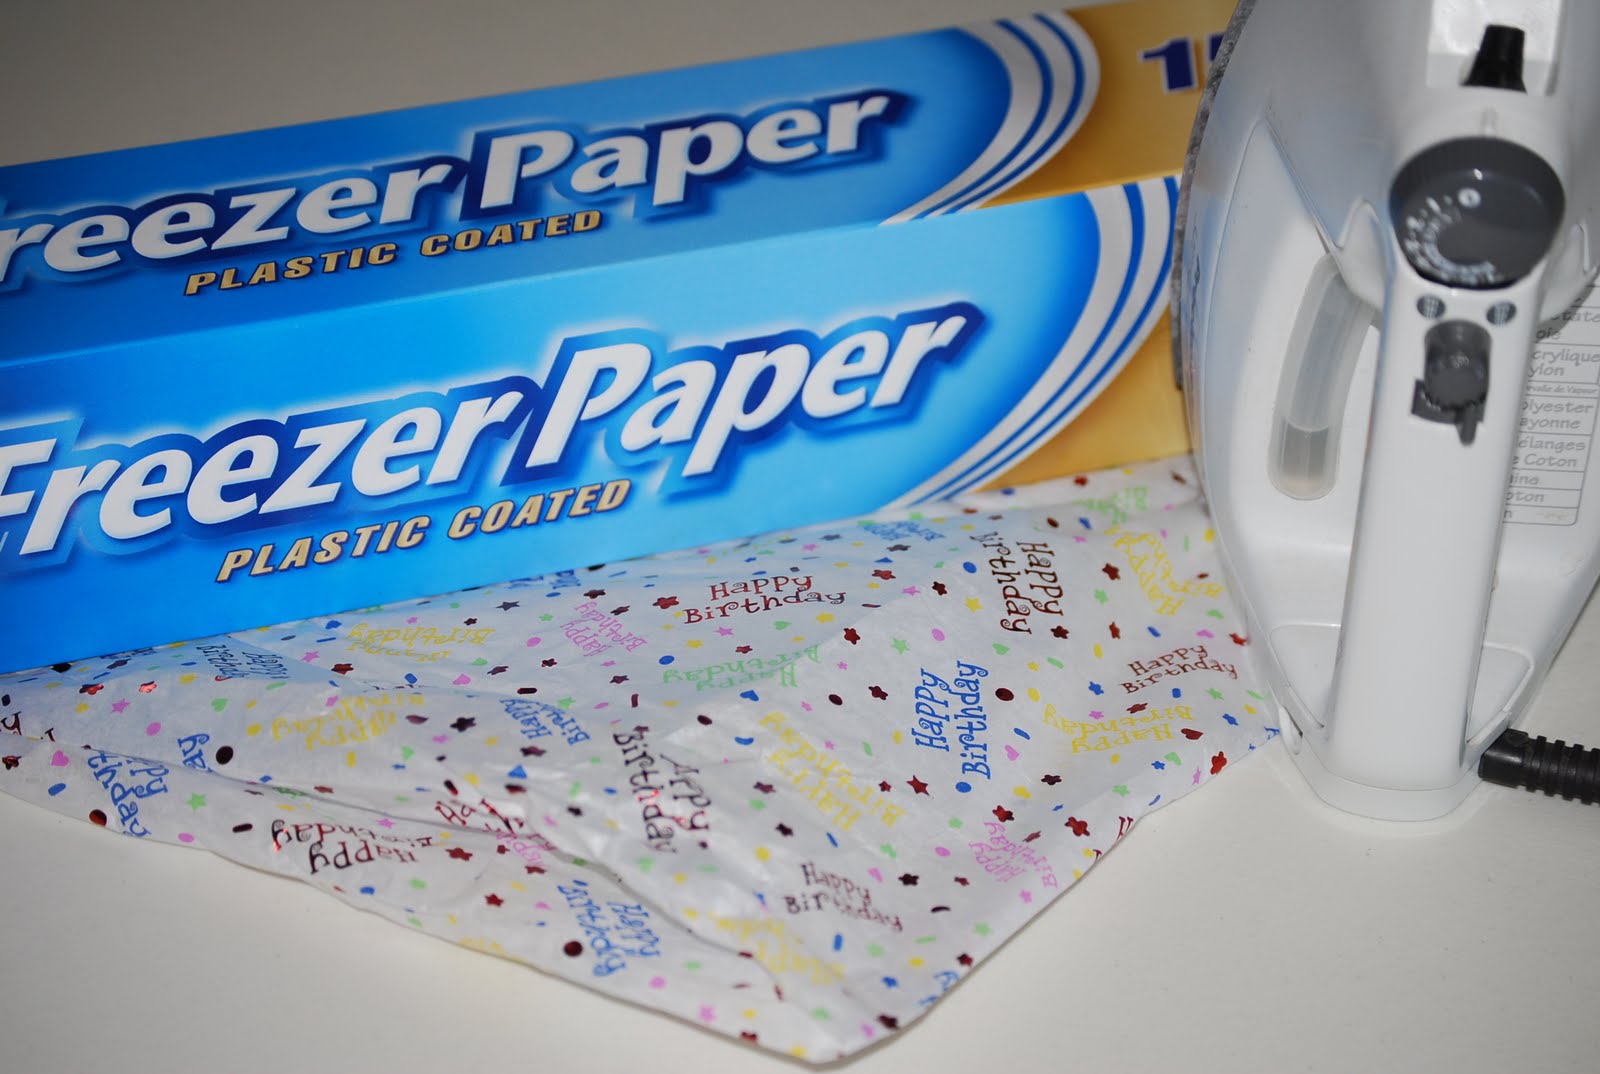 |
| Supplies for the Envelope |
Place the BACK side of the tissue paper to the SHINY side of the freezer paper.
Step 2
Carefully iron them together. I only had my iron set at the highest non-steam setting. Careful not to leave the iron in one place to long or it will burn the paper.
 |
| Tissue Paper fused to Freezer Paper |
Step 3
Using your envelope template, trace it onto the envelope paper you just made, cut it out and assemble it.


Another option you can try is to crumple the tissue paper and smooth it back out before ironing it to the freezer paper. The crinkles add another dimension to your envelope. You can also make enough to use as gift wrap! It always makes your gift extra special when the envelope and gift wrap coordinate!
For the glue
1 package unflavored gelatin
1 Tablespoon Cold water
3 Tablespoons boiling water
½ Teaspoon corn syrup or sugar
½ Teaspoon vanilla, lemon, or your favorite flavor of extract
 |
| Supplies for the Envelope Glue |
Step 1
In a small bowl sprinkle the gelatin over the Cold water and let soften for 5 minutes. |
| Gelatin dissolving in water |
Pour in the boiling water and mix until dissolved. Add in the corn syrup/sugar and extract, mix well. If you would like a slightly stronger flavor, you can use about another 1/4 teaspoon or so of extract.
 |
| Completed Glue |
 Brush a thin coat on the flap of the envelope and allow to dry completely. Once the glue is dry you, lick it just like you would a regular envelope, just without the yucky face!
The glue can be stored in the refrigerator, in an air tight container. When you are ready to use again, microwave for 20 seconds on high and mix well. Make sure that it is a uniform consistency, and brushable.
Please try this and let me know what you think! Post pics of your envelopes for others to see!
Subscribe to:
Comments (Atom)